
There are quite a few steps in the process of building a retaining wall. First, you’ll need to plan and excavate the site, mark and dig holes, pour concrete, level the ground, install the sleepers and agg pipe, and then backfill the soil behind.
For this article, we’ll talk about the different phases of setting up a retaining wall and what you can expect during installation. The following steps will give you a general idea of how our retaining wall builders at Total Retaining Walls Mornington Peninsula operate.
Step 1: Planning and Site Layout
The first step in our retaining wall installation process is the planning and site layout. We do this by using stakes and string lines to ensure that everything is levelled off and laid out
This step is crucial as it allows us to see that the overall layout has an even height and length.
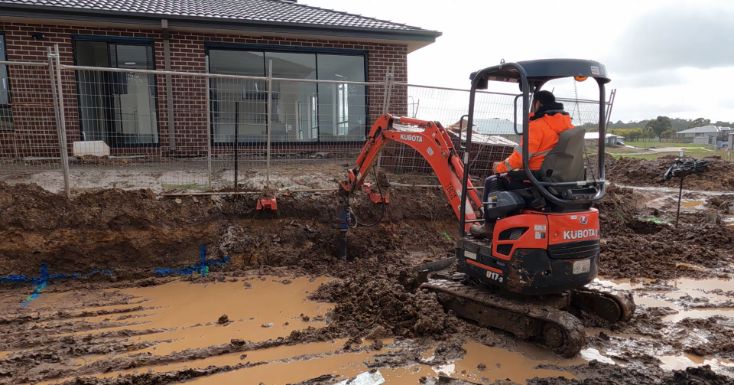
Step 2: Begin Excavating the Site and Dig Post Holes
Depending on how much of the area needs to be excavated, using either a shovel or an excavator, our team will dig down the line that was laid out in the previous step. This line is going to be a bit wider than the sleepers we’ll be using for the retaining wall.
After the site is cleared and levelled the post holes are dug and prepared for the steel posts.
Step 1: Planning and Site Layout
The first step in our retaining wall installation process is the planning and site layout. We do this by using stakes and string lines to ensure that everything is levelled off and laid out
This step is crucial as it allows us to see that the overall layout has an even height and length.
Step 2: Begin Excavating the Site and Dig Post Holes
Depending on how much of the area needs to be excavated, using either a shovel or an excavator, our team will dig down the line that was laid out in the previous step. This line is going to be a bit wider than the sleepers we’ll be using for the retaining wall.
After the site is cleared and levelled the post holes are dug and prepared for the steel posts.
Step 3: Install Posts and Fill With Concrete
After excavating the area and preparing it for installation, we start placing the posts while ensuring they are all straight and level with the string lines we placed during step 1. This is done with all of the steel posts (also known as H beams).
Once the posts are levelled, we then begin pouring concrete into the post holes. The Posts are checked for level again and are allowed to set. If you’ve read this far and want to know ‘can you build a retaining wall?’, check out this post for more info.
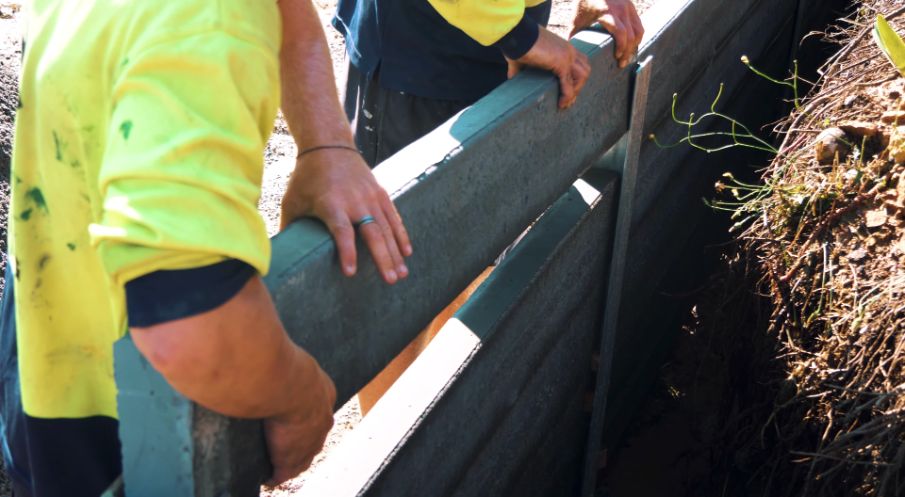
Step 4: Level the Ground and Install the Concrete Sleepers
The next step is to start levelling the ground just below where the concrete sleepers will be installed. When that’s done, our team will begin installing the sleepers and secure each one in place using small wooden blocks.
These pieces of wood will help tighten the concrete sleepers against the face of the steel post and make sure that they don’t move around after installation.
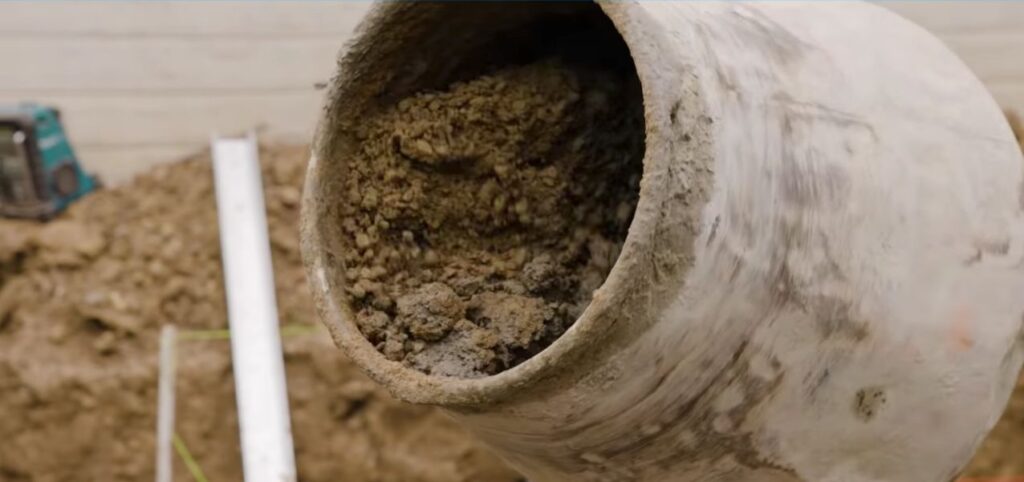
Step 5: Apply Builder’s Film and Install Agg Pipe
With the concrete sleepers in place, we will then use a builder’s film and install it behind the wall. The film plays an important role as it helps prevent moisture from seeping into the sleepers and potentially causing issues later on.
At the same time, we’ll also install an agg pipe for drainage. This pipe will be connected to the existing storm water drainage system to aid in getting water away from the retaining wall.
Step 6: Backfill the Excavation
With everything set, we’ll backfill the retaining wall to finalise the process. We do this by backfilling the base first with scoria and then with soil.
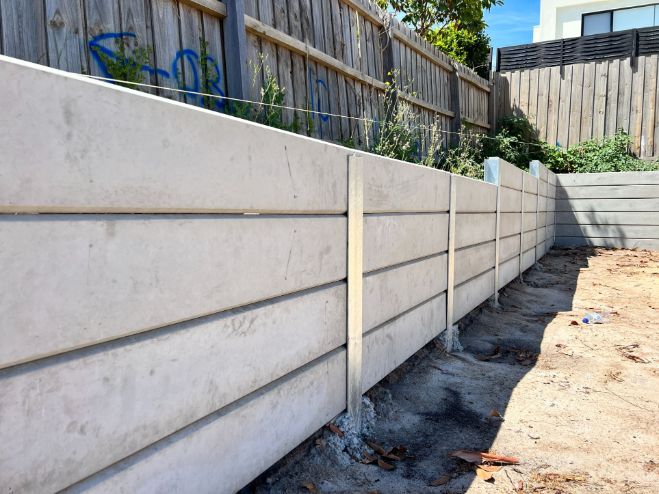
Your retaining wall is complete!
With that being done, your retaining wall is completed. Should you have any more questions about construction or want more info about what is a retaining wall, feel free to get in touch with our team.